In looking over our budget food is where we spend a good deal of our money each month. Most of our budget goes to utilities, mortgage, gas, or debt (yay school loans...yes that is sarcasm.) What is left goes to food, and in truth we really don't have money for much. But being a stay at home mom is its own blessing and I wouldn't trade it for all the money in the world.
One of the ways my husband and I have discovered saves us some good bucks is to make him breakfast and lunches. On average if he eats breakfast and lunch out he can spend $5-10
a day, that's $150-300 a month, $250 is our goal for our
entire grocery bill (as of yet we haven't quite made it though we've come close twice.)
Neither of us are morning people - when my daughter wakes up at 7 am I usually spend at least an hour of that day in tears, and that means getting up a half hour to an hour early every morning to make breakfasts and lunches really doesn't help my mental state, and Scottie doesn't relish the idea of adding a good deal more time to cook a nice breakfast either. So what to do? Freezer breakfasts!
We have done mission style breakfast burritos many times, and every time we do it we love them all the more. And I'm prepared to share with you our secrets.
The key to good mission style burritos are well-seasoned hash browns...unless of course you don't like or have hash browns, you like fresh breakfast potatoes, or prefer them baked or fried in oil. I use shredded frozen hash browns (some of the time) pan-fried with a tiny pat of butter (not really enough to even coat the bottom of the pan) and seasoned with
Le's Classic Seasonings: salt, pepper, garlic powder, onion powder (didn't I say last blog I season everything with these?) and a little bit of sage. Sometimes I'll add a bit of cumin or thyme or rosemary. I experiment with these and it adds a slight variation, and is fun. Cook your hash browns and set them aside, and you're on to your next step.
 |
| Cook up your hash browns. |
The key to good mission style burritos is good crispy bacon...unless of course you are vegetarian, or are in the mood for sausage, pork, or ham. I have used it all, today I oven baked my bacon while preparing my other ingredients. Line a cookie sheet (or something with at least an inch lip to catch the oil) with aluminum foil and lay out your bacon in a flat sheet over the top. Stick it in the oven and turn your oven on to 425 degrees (don't preheat it!) Set your timer for 24 minutes for crispy bacon, and 20 minutes for chewy bacon.
 |
| Pan "bake" bacon. |
Be careful when you're removing to not spill the oil, place on a plate with paper-towels and when cool crumble it up. (If you do sausage make sure to remove any casings!)
 |
| Nice Crispy Bacon...Yum! |
The key to good mission style burritos is nice sauteed mushrooms...unless of course you like peppers, tomatoes, onions or some other vegetable in your breakfast burritos! Since these are mostly for my husband and he loves him some mushrooms, I gave them a nice big chop and pan fried them with a smidgen of butter. Saute up your veggies to soften them up. Sometimes I add my veggies directly to my eggs and sometimes I sprinkle them on top.
 |
| Saute your veggies. |
The key to good mission style burritos is cheesy scrambled eggs...unless of course you don't like cheese. I have done all sorts of things with my eggs, adding veggies, adding cheese, adding chunks of meat. I always season them with my
Le's Classic Seasonings, and sometimes I'll add sage or cumin or Italian seasoning. (Taste it a few times to make sure you're adding enough!) Today I used about a quarter lb of swiss and quarter a lb of cheddar cheese. I mixed half in with my eggs and used half as a "sprinkle." It is important to get a nice firm set to your eggs because you don't want them to get your tortillas soft. A good key to getting the right amount of eggs is to double your tortillas and add 1-3 more. I did 17 eggs and got 8 burritos.
 |
| Notice the cheese outside the pan as a sacrifice to the "Good Breakfast Burrito Gods." (My pan was almost too small for 17 eggs! lol.) |
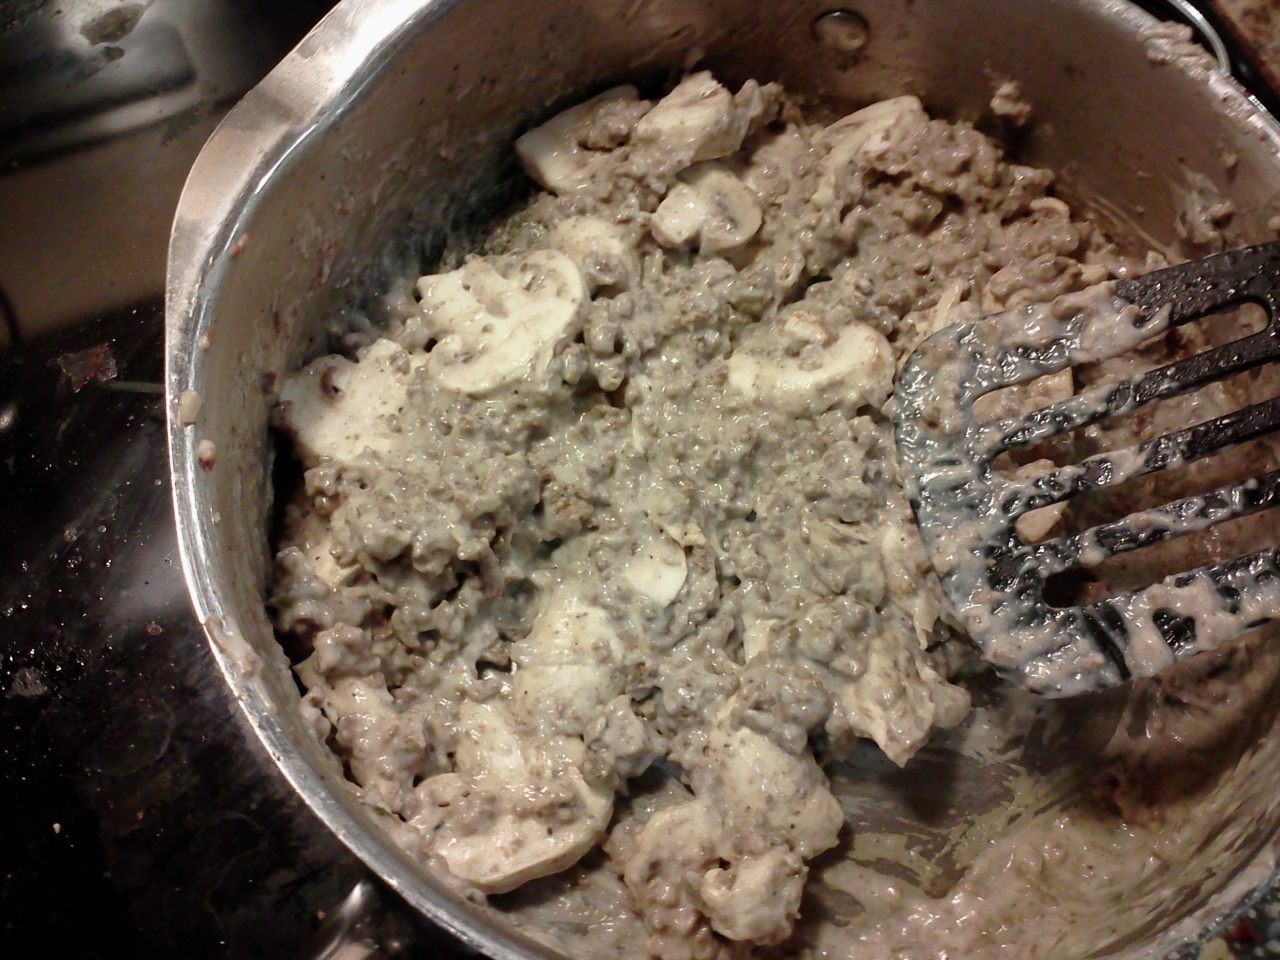
The key to good mission style burritos is the medium pork green chili sauce...unless of course you prefer hot or mild, or salsa...verde or regular, or sausage gravy. Today I didn't have my "standard" pork green chili sauce, I used a simple diced green chili salsa that we enjoy. If you want to make a quick'n'dirty easy sausage gravy: brown sausage, add a can of cream of mushroom soup, a blurp (less than 1/4 c. but more than a couple T.) of sour cream, and some
Le's Classic and sage. If you're using a green chili sauce you need to make up, follow the directions on the can, if you're just using a salsa you can either add it to your eggs or add it before you fold up the burrito. I have done both and its good either way.
The key to good mission style burritos is the layering...unless you throw it all in with the eggs, which works too. Today I did my hash browns, then eggs, then veggies, then cheese, then bacon, then green chili salsa. I will say this, it is important to draw a single line in the center of the tortilla with it.
 |
| Notice the line right in the center? Make sure to leave at least an inch on the top and bottom and 2 inches on each side. |
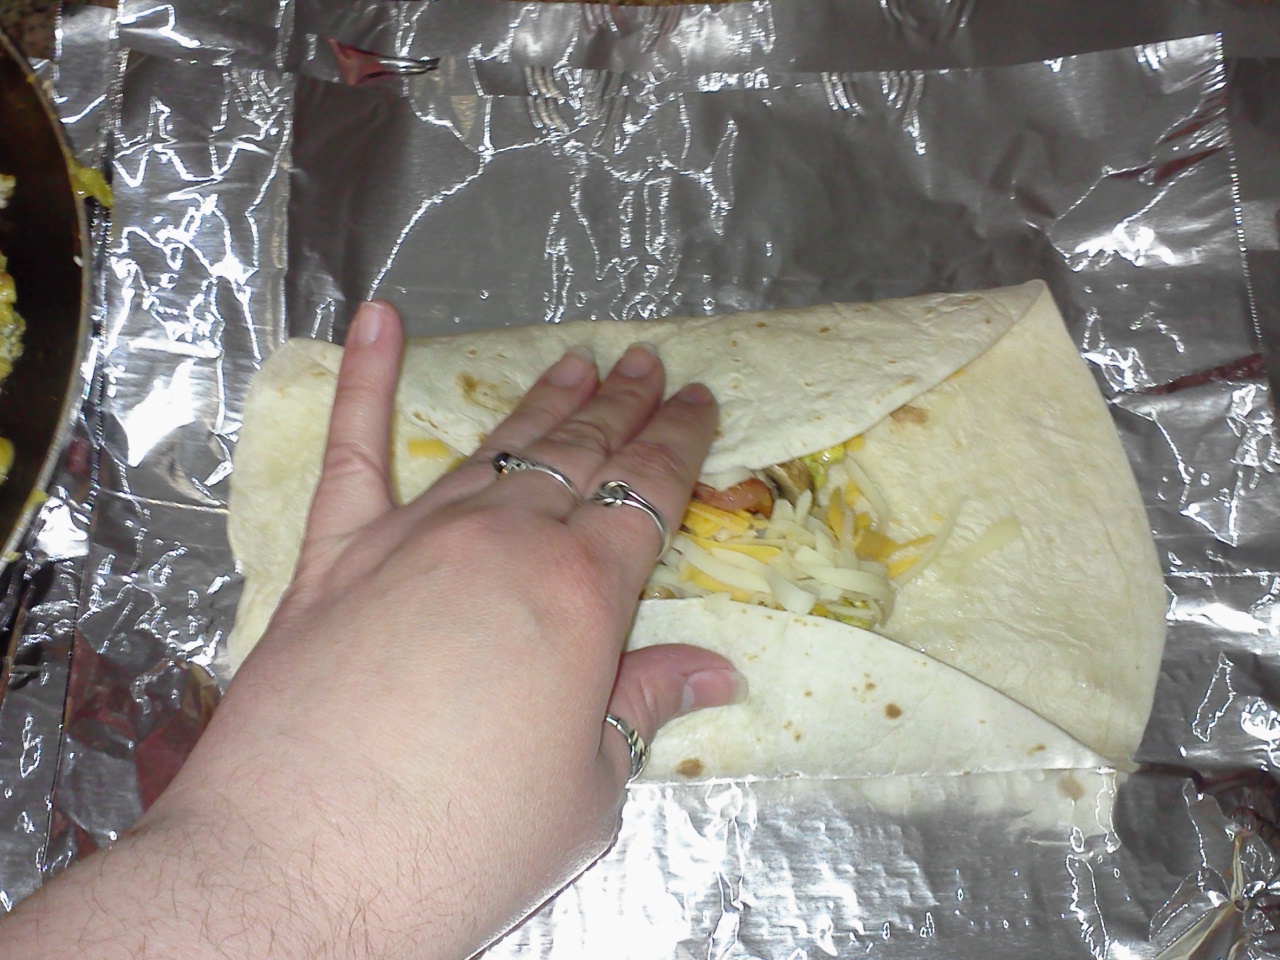
Tear off several pieces of aluminum foil (one each) and put a tortilla in the center. Fill it with your layers right down the center, leaving an inch on top and bottom and 2 inches on each side. Then fold it.
 |
| Fold the Top Down and the Bottom Up. |
 |
| Fold over one side. |
 |
| Then roll it over again so you're at the edge of the foil. Then roll the foil the way you rolled up the tortilla. |
Remember to date your burritos and add a quick label (in case you decide to add a different kind before they're all gone). And stick them in the freezer. When you're ready to use them you can either stick them in the oven at 350 for about 20 minutes or you can nuke them (without the foil please!) for 3-5 minutes. Scott says if he's left the frozen burrito on his desk for most of the day and its defrosted some he can cook it faster.
 |
| I did get 8 burritos out of this, but I had one to eat with my 2 year old for breakfast hehe. |
The Recipe I used today: (Prices are very rough estimates)
1/8 a bag of shredded hashbrowns ($.50)
17 Eggs ($1.50)
1/2 - 1 lb Cheese (1/2 cheddar 1/2 swiss) ($1.25-2.50)
1 lb Zaycon Bacon ($3)
7 Mushrooms ($.75)
1/4 jar of Medium Green Chili Salsa ($.87)
Seasonings ($.15)
8 Tortillas ($2)
Total Spent: Guessing about $10. ($10.02 adding my guest-imates there) Which means each Breakfast burrito is roughly $1.25 - $1.40.
 |
| Today's Mission-Style Breakfast Burritos |
The truth is the real key to good Mission-Style Breakfast Burritos is to make them! They can be done in a huge variety of ways, and adjusted to whatever you and your family likes, and they'll always be tasty, and they'll almost always be around $1 - $1.50 a burrito. It took me about 45 minutes from start to finish to knock these out, and I fed my husband breakfast while I did them, and it will feed him breakfast 7 more times.